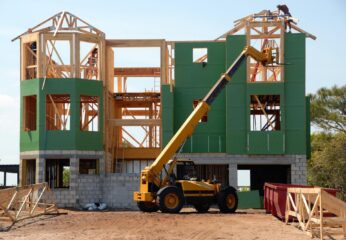
There are some distinct instructions that must be followed to ensure water stays out of a building site during and after construction. Proper grading of the site and waterproofing the foundation are both essential for a dry building. This may seem like common sense, but wet basements and crawl spaces continue to be a problem for many property owners due to insufficient waterproofing.
By following these six steps during the construction process, you will safeguard your project against the intrusion of water and help protect the site from future water damage. Creating a building envelope that can withstand environmental factors such as rain, runoff and groundwater is crucial to a long-lasting and comfortable building.
How Does Water Enter a Construction Site?
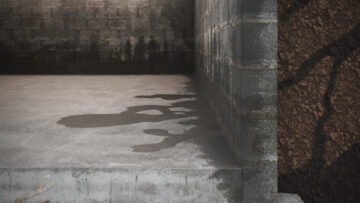
Water enters a construction site from three main sources: rain, runoff and groundwater. Rain is the most obvious way that water enters a construction site. When it rains, water either seeps into the ground or runs off, following the pull of gravity.
When rain lands, some of it is absorbed into the ground, becoming groundwater, while the majority flows downhill. It is especially noticeable after heavy rain or when snow melts. The effects of runoff on a foundation can be mitigated by a positive backfill at the foundation so water runs away, rather than towards, the building.
Waterproof vs. Water-Resistant
There’s a difference between waterproofing and water-resistant products. They each have a similar function — to increase the longevity and comfort of a building by keeping out excess water. However, waterproof and water-resistant products differ and should be used in accordance with the location and goals of the building.
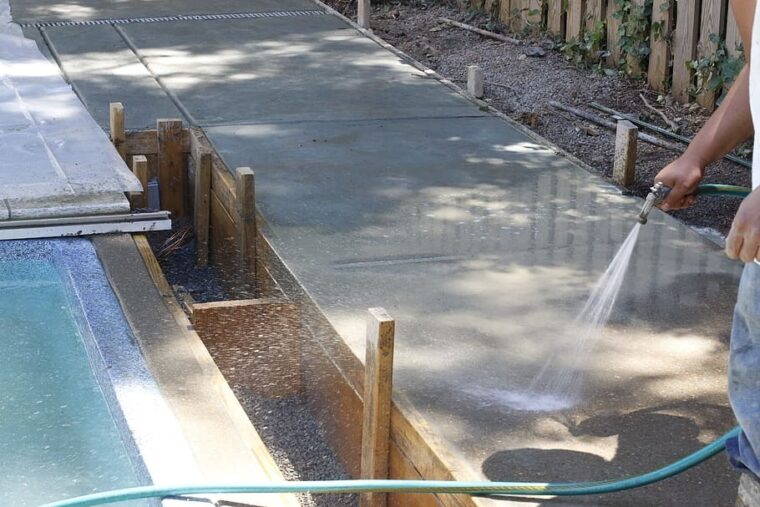
Water-resistant products will help the building withstand the elements but they can’t be submerged in water. Concrete is incredibly porous and is made with water. After the water in the concrete evaporates and the concrete dries, it will absorb any water that comes in contact with it.
According to Eric Perkins from Perkins Builder Brothers, “If you were to squirt a water hose at [a concrete wall], the stream would actually just disappear into the block. It’s like a sponge. If you don’t waterproof it, moisture will continue to wick into the block forever.” Waterproofing is an essential step, especially in areas where flooding or driving rain is common.
6 Step-by-Step Guidelines to Waterproof Your Building Site
1. Establish the finished height of the foundation above grade and mark the waterproofing line.
Once the finished height of the foundation is established, mark the line of waterproofing at a predetermined number of inches from the top of the foundation — as close to the finishing grade as possible. Don’t go lower than six inches below the finish grade. This is especially important on structures with complex foundations and varying grades.
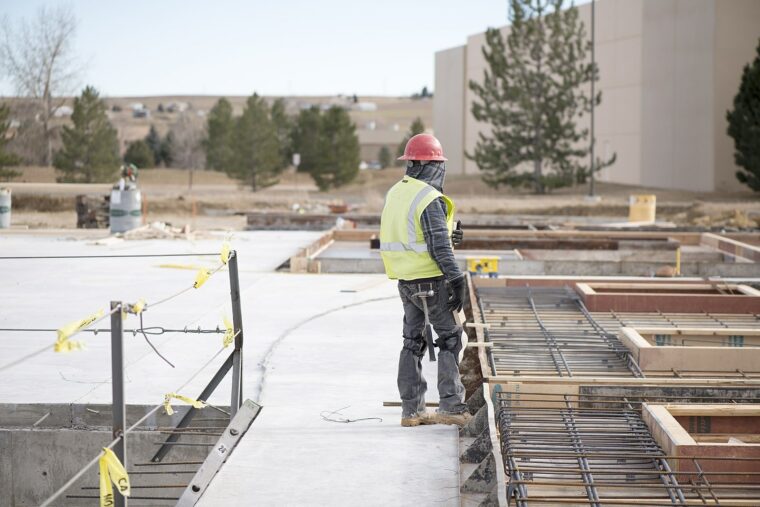
2. Divert water away from the initial dig area with proper grading.
While pouring and waterproofing the foundation, diverting water from the dig area is imperative to keep it as dry as possible. This way, in the event of rain or snow, the water runoff will flow away from the foundation.
3. Install a drainage system to eliminate groundwater at the foundation.
As groundwater works its way through the soil and stone surrounding the foundation, a proper drainage system will carry the water away from the foundation rather than letting it pool or saturate the soil.
Drain tile consists of a perforated pipe — usually PVC or corrugated plastic — resting on a layer of stone, a filter layer to keep dirt, silt and sand from entering the pipe, and rock that is backfilled over the drain tile to encourage water to seep into it.
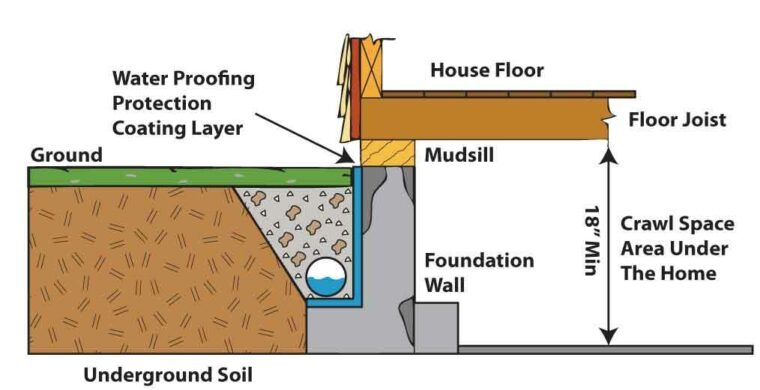
4. Apply a waterproof membrane or coating on the masonry foundation.
When it’s time to apply the waterproof membrane or coating on a masonry foundation, ensure that the concrete has fully cured before applying the sheet membrane. Concrete continues to release water vapor as it dries, so making sure that it is completely cured will prevent the waterproofing methods from trapping excess water inside.
Bituminous membranes are often used for waterproofing. These asphalt-based waterproofing products generally need to be applied with heat. They are available as a torch-on membrane or as a self-adhesive membrane.
DRYLOK® products are guaranteed to stop water and are a superior alternative to standard bituminous membranes. DRYLOK® also has a range of products for different applications.
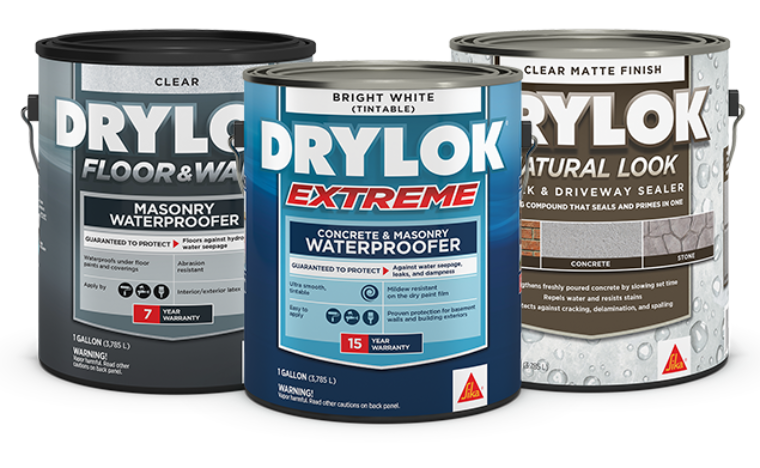
DRYLOK® Extreme Masonry Waterproofer is a cold, fluid-applied, ready-mixed formula that goes on smoothly to create a waterproof finish. It is latex-based and includes a biocide that resists mildew growth on the dry paint film. This waterproofer can be applied by brush or roller, as well as by a sprayer.
For an easy waterproofing application, DRYLOK® Original Concrete & Masonry Waterproofer is a cold fluid-applied waterproofer and doesn’t need pre-mixing or pre-wetting, and it can be applied with a brush or roller.
DRYLOK® Powdered Basement & Masonry Waterproofer is formulated to fill and seal porous masonry walls by penetrating the pores and bonding to the masonry, becoming an actual part of the original surface. This product offers the unique opportunity to customize the thickness of the membrane. After mixing, the solution can be thinned for normal applications or left thick for heavy applications.
5. Ensure a positive grade away from the foundation when backfilling.
A positive grade backfill slopes away from the structure’s foundation, reducing the amount of water that seeps into the ground at the foundation and runs down the wall. This, in conjunction with proper drain tiles and waterproofing methods, will help to ensure a dry foundation.
6. Install a quality gutter system that carries rainwater away from the site.
The first line of defense against water at the site of the foundation is a high-quality gutter system. Gutters catch the rain before it hits the ground and then divert it away from the structure, keeping the ground drier during times of rain and even snow.
Choose DRYLOK® for Your Waterproofing Needs
Our products are guaranteed to stop water, providing a high-quality barrier for a dry basement. In conjunction with proper drainage, backfilling and gutters, your clients will have a waterproof basement for years to come by resisting cracking from expansion and contraction and lessening the chance of mold and mildew growth.
Contact the experts at DRYLOK® today for details about our waterproofing products for your next project.