The sealed cladding process utilizes a layering system to provide your commercial building with excellent protection against moisture intrusion that helps prevent the development of mold and adds increased insulation values to your exterior walls. This article will describe the process and recommend the best waterproofing products as the best solution for waterproofing your foundation and exterior masonry walls.
What is Sealed Cladding?
In construction, a sealed cladding system is when the framing is covered with cladding panels or other finish materials and then coated to provide an attractive look while also improving the longevity of your structure.
Sealed cladding is a perfect choice for commercial exteriors because it seals out the elements and creates an insulated barrier between the interior and exterior walls. Not only does this reduce air infiltration, but it also helps regulate energy efficiency — both heat and air-conditioned air will be kept within the structure to ensure maximum comfort.
If you’re looking to create a tightly sealed façade that doesn’t lose precious warmth or coolness in transit, then it’s wise to consider investing in a quality cladding system.
Benefits of Sealed Cladding

Not only do sealed cladding systems prevent water infiltration and inhibit air penetration, but they also provide other advantages. Thanks to their waterproof capabilities, upkeep is incredibly convenient as there’s no need for consistent maintenance or repairs. Sealed cladding systems are renowned for their sturdiness and longevity.
They minimize the risk of developing cracks or succumbing to water damage, thereby prolonging the lifespan of your building’s exterior.
The Sealed Cladding Process
Although the precise steps of installing a cladding system for commercial buildings may differ depending on its type and regional regulations, this guide offers an in-depth look into how it’s typically done.
1. Waterproof Foundation and/or Masonry Walls
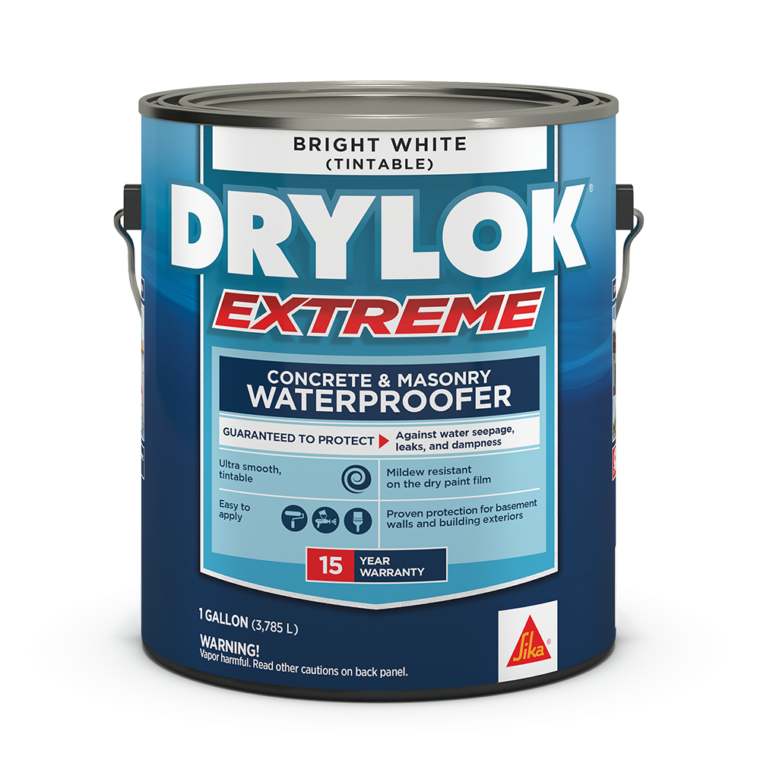
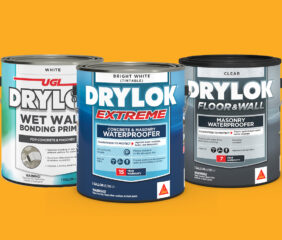
Water needs to be stopped before it enters your building and DRYLOK Extreme Concrete & Masonry Waterproofer provides the protection you need. It can be applied with a brush, roller or sprayer and will work on brick, cinder blocks or poured concrete.
Prepare the Surface
DRYLOK Extreme Concrete & Masonry Waterproofer should be applied to a dry surface that is free of all debris, including old paint. It’s also important to note that this product should not be utilized on surfaces previously treated with form-release compounds.
A wire brush can be used to scrub off any dust, dirt and crumbling mortar. If the paint is deteriorating in some way, it should be completely removed.
Finally, ensure that all efflorescence has been removed before applying any waterproofer with DRYLOK Etch — it is an excellent alternative that won’t take effect until mixed with water. It can be used on galvanized surfaces before painting them and treating smooth concrete areas. Additionally, its inactive state makes it easy to store without worrying about safety hazards.
Applying DRYLOK Extreme Concrete & Masonry Waterproofer
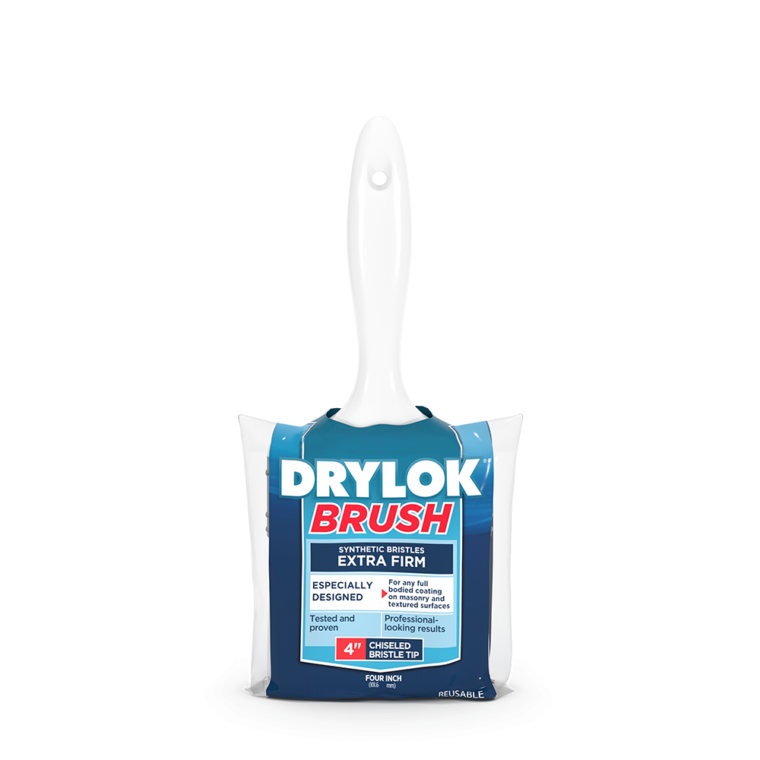
Plan your project for a day when temperatures are at least 50°F, and there is little chance of rain. Be sure to mix DRYLOK Extreme Concrete & Masonry Waterproofer completely before and during application and never dilute it. Using either a three-quarter-inch nap roller, the DRYLOK Brush or an excellent nylon bristle brush, carefully apply the first coat on any exposed masonry surface.
When you are ready to begin waterproofing your masonry, carefully use a brush to work DRYLOK Extreme Concrete & Masonry Waterproofer into the tiny pores of your walls. Make sure all crevices and pinholes receive coverage. If you elect to use a roller instead for the initial coat, be certain that it is back-brushed so that each pore is sealed effectively.
Allow two or three hours for your first coat to dry before applying another one — a minimum of two coats is needed for maximum protection.
2. Apply Air and Moisture Barrier to Walls
After the waterproofing has been given ample time to dry, insulation can be expertly fitted into place. Generally made from fiberglass, foam board or mineral wool in sheets of 4 feet x 8 feet, 4 feet x 10 feet or 4 feet x 12 feet, adhesives and specialized mechanical fasteners allow it to be securely attached.
3. Add Layers of Insulation to Walls
To guard against moisture and air infiltration, the sealed cladding process necessitates installing a vapor retarder. Materials explicitly designed for this purpose are preferable to plastic sheeting in order to ensure an effective seal that provides long-lasting protection from destructive elements on your building’s exterior.
4. Attach Cladding
At this point, you are ready to attach your finished siding or stucco product. Some popular options are:
Metal Cladding: This type of cladding is composed of either aluminum or steel and can be painted over to ensure greater longevity and a more aesthetically pleasing look. It has the advantage of being lightweight, fireproof and able to conform to numerous shapes and sizes.
Fiber Cement Cladding: This mixture composed of cement, sand and cellulose fibers is an outstanding choice in terms of upkeep as well. It resists water damage, fires and any kind of infestation from pests.
Stone cladding: This is an ideal choice for those seeking a durable and attractive façade because it comes in various hues and textures. Whether you’re opting for natural or manufactured stone veneers, the possibilities are endless!
Stucco: Highly popular in the South, stucco stands out with its limitless color options when painted or sealed.
5. Apply Protective Finish, if Necessary

Applying an additional protective coating may not be necessary, but it is often desirable. Adding a protective finish to your fiber-cement siding, stone and stucco can be highly beneficial. Fiber-cement should be painted or stained while DRYLOK’s sealers are the perfect choice for both stone and stucco applications.
Sealed Cladding FAQ
What is the sealed cladding system?
The sealed cladding system is a type of building envelope system that is designed to provide a continuous barrier against air and moisture infiltration. It typically consists of an outer layer of cladding material, such as metal, vinyl, or fiber cement, that is sealed to the building structure with a vapor barrier and weather-resistant sealant. The sealed cladding system is designed to protect the building from the elements and reduce energy costs.
What coatings are recommended for the sealed cladding system for stucco in Flordia?
For stucco in Florida, a two-coat system is recommended for the sealed cladding system. The first coat should be a base coat of a cementitious material, such as Portland cement, and the second coat should be a finish coat of a polymer-modified stucco. The finish coat should be applied in two layers, with the first layer being a scratch coat and the second layer being a brown coat. Both coats should be sealed with a water-resistant sealant.
What is the recommended water-resistant sealant for sealed cladding?
The recommended water-resistant sealant for sealed cladding is a silicone-based sealant. Silicone-based sealants are highly durable and provide excellent protection against water infiltration. They are also resistant to UV radiation, which helps to extend the life of the sealant.
Is DRYLOK Masonry Waterproofer recommended for the sealed cladding as a water resistant sealant?
A: Yes, DRYLOK Masonry Waterproofer is recommended for the sealed cladding as a water resistant sealant. This product is designed to provide a waterproof barrier against water infiltration and is suitable for use on masonry, stucco, and other porous surfaces. It is also resistant to UV radiation and can help to extend the life of the sealant.
What is the proper application for DRYLOK Masonry Waterproofer as the water resistant sealant for the sealed cladding system?
The proper application for DRYLOK Masonry Waterproofer as the water resistant sealant for the sealed cladding system is to apply two coats of the product. The first coat should be applied to the surface and allowed to dry for 24 hours. The second coat should then be applied and allowed to dry for an additional 24 hours. The product should be applied with a brush or roller and should be allowed to cure for at least 48 hours before being exposed to water.
Utilize DRYLOK to Achieve the Best Sealed Cladding Outcome
If you’re looking for top-notch protection from the elements on your commercial building’s foundation, DRYLOK has a selection of high-quality products that will get the job done.
Our DRYLOK Original Masonry Waterproofer is perfect for sealing up walls and foundations while DRYLOK Extreme Concrete & Masonry Waterproofer goes one step further by providing the ultimate protection in extreme weather conditions.
Ready to get started? Contact us today to find a store near you!