The proper prep will lead to the most success. DRYLOK Masonry Waterproofing is three steps:
Prepare – Patch – Waterproof
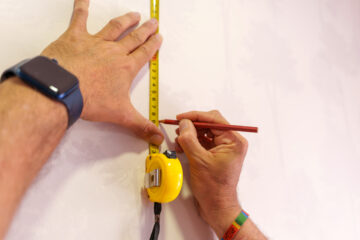
Step 1: prepare!
Clean the surface with a wire brush to get all loose particles, dirt, and dust removed from the surface. This ensures that DRYLOK will have the maximum adhesion. If you see a white powdery substance (as you will see below), it is natural salts present in the masonry and is the biggest enemy of any waterproofing job.
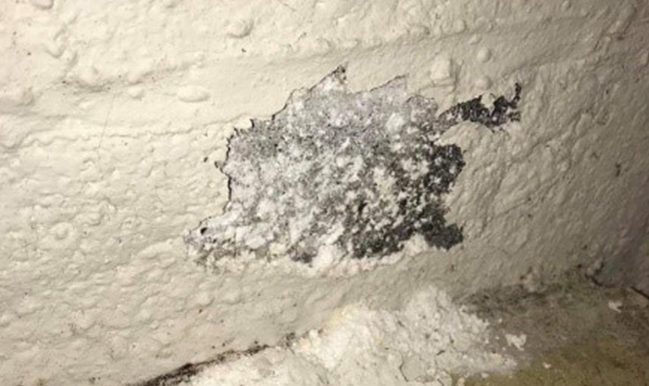
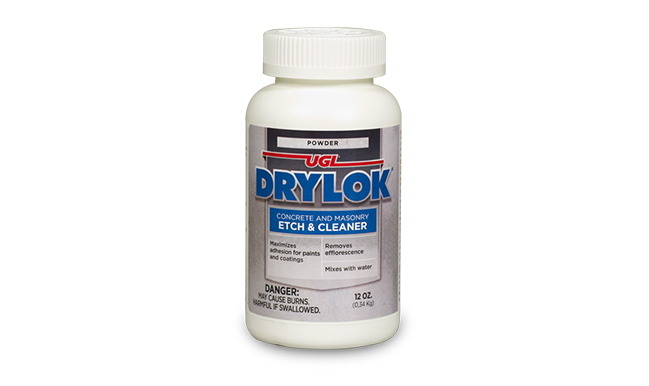
The white powdery substance is efflorescence, and you want to neutralize it with DRYLOK Etch which is much safer than muriatic acid. Above all, remove efflorescence prior to waterproofing to avoid the waterproofer from failing.
Step 2: patch!
Patch any cracks present in the masonry; if not, they will be a gateway for water to enter. It is imperative to fill the floor wall joint, where the floor meets the wall, as this is an area with the most water pressure and the most susceptible to leaking.
DRYLOK fast plug, a fast-setting hydraulic cement that sets in 3 to 5 minutes. Mix DRYLOK Fast Plug is with water. (Note*) The colder the water, the slower the product sets.

Step 3: Waterproof!
Now you are ready to waterproof. DRYLOK Masonry Waterproofer comes in 3 formulas; DRYLOK Original Latex Masonry Waterproofer, DRYLOK Extreme Masonry Waterproofer , DRYLOK Floor & Wall all effective in stopping water. It works by entering the masonry’s pores, expanding as it dries to become part of the wall.
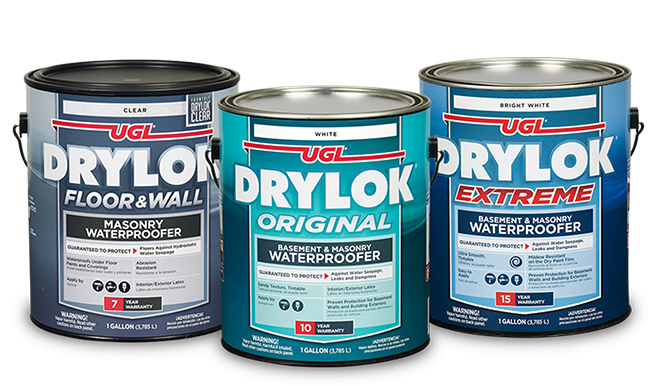
No matter what formula you choose, they are all guaranteed to stop water, and come with a strong brand reputation that your customers know and trust!