When it comes to protecting your basement, garage, or masonry walls from water damage, DRYLOK® is a trusted go-to. But here’s the thing: even the best waterproofing paint can only perform as well as the surface it’s applied to. That means proper prep work isn’t optional, it’s essential.
Think of it like building a house: you wouldn’t build walls without a solid foundation. The same goes for waterproofing, prepping your walls is the foundation for lasting protection.
1. Inspect and Patch Any Problem Areas
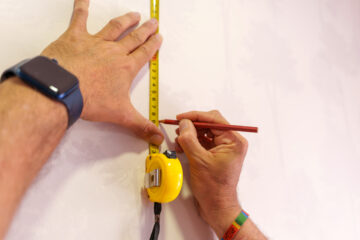
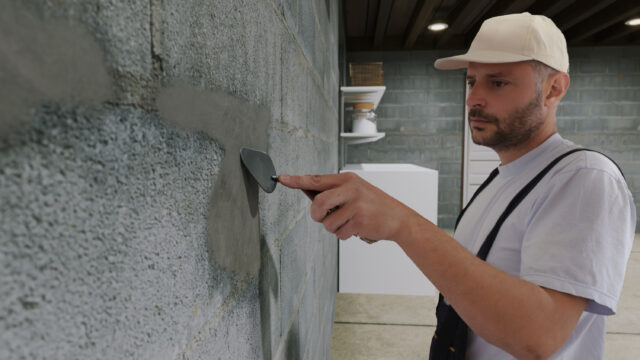
Before you even open a can of DRYLOK®, take time to inspect your walls thoroughly. Look for cracks, holes, and mortar joint gaps. These imperfections are more than cosmetic — they’re often the very entry points for water.
Use a quality masonry crack filler or DRYLOK® Fast Plug® for repairs.
Make sure all cracks are fully sealed from the inside.
For active leaks, repair with a fast-setting hydraulic cement that can set even under water.
Patching early ensures your waterproof coating can form a continuous barrier, instead of seeping into gaps where moisture can sneak through.

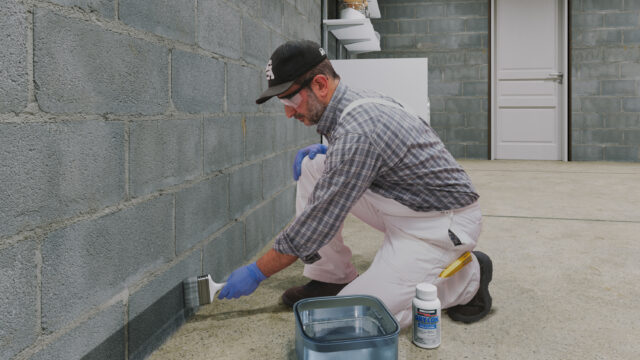
2. Remove Any Existing Coatings
This is the step many homeowners try to skip — and regret later. DRYLOK® needs to penetrate the masonry surface to form an effective waterproof bond. If your wall is already painted or coated, the new waterproof layer may not adhere correctly.
SoThe goal: get back to bare, clean masonry.me coatings may be invisible. Test for existing coatings by sprinkling water on the wall. If the water beads up or runs off without soaking in, there’s likely a coating present.
Remove coatings by wire brushing, sandblasting, or using a chemical stripper designed for masonry.
The goal: get back to bare, clean masonry.
Skipping this step is like putting tape over dust — it simply won’t stick for long.
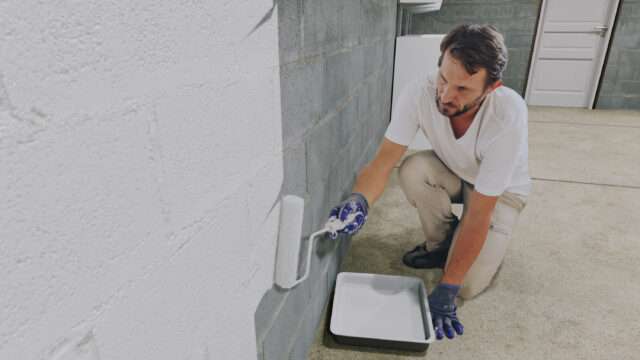
3. Clean and Prep the Surface
Even bare masonry walls can have dust, dirt, efflorescence (white, powdery deposits), and other contaminants that prevent adhesion.
Scrub the surface with a stiff-bristle brush and a masonry cleaner.
Rinse thoroughly and allow the wall to dry completely.
Remove efflorescence with a solution of muriatic acid (follow all safety precautions) or a specialty masonry cleaner like DRYLOK Etch.
Clean walls not only help DRYLOK® adhere better, but they also help you spot any hidden cracks you might have missed earlier.

4. Why Proper Prep Matters
The truth is, waterproofing isn’t just about applying a product, it’s about creating a barrier that lasts. Poor prep work can lead to peeling, bubbling, and, worst of all, water finding its way back in.
By taking time to patch, strip, and clean before you paint, you’re not just doing the job — you’re doing it right. And when it comes to stopping water, “right” is the only way that works.
The Bottom Line
DRYLOK® can protect your home for years — but only if it’s applied to a properly prepared surface. So, grab your tools, take your time with prep, and you’ll have the peace of mind that your walls are truly sealed against water intrusion.
Your future self (and your dry basement) will thank you.