
Most homeowners know that a leaky basement can be a serious problem that can often require a professional’s expertise. Water can damage possessions and create a health hazard, but it can also lead to structural problems with a home.
Waterproofing your customers’ basement walls is one of the best ways to prevent leaks (and callbacks). While there are many methods that can be used, one popular method is to apply a waterproof coating to the walls, which will create a barrier that prevents water from seeping in.
This article will discuss the steps to follow when applying a waterproofer to basement walls to ensure your customers are happy with the end result.

How much product do you need?
5 Steps to Effectively Waterproof Basement Walls
1. Remove All Standing Water and Verify That the Area is Completely Dry
It’s critical to remove all standing water before beginning any waterproofing job. After the area is completely dry, you may now begin to analyze the damage and select the most effective action. Any water left standing may hide a leak coming from the floor – not the wall – and will require a different solution to fix the problem.
2. Clean and Prepare the Area
Clean, dry and grease-free surfaces produce the best results. When removing dust, grime and any loose or broken masonry with a wire brush, it’s important to make sure that it’s completely gone.
Check for Mold or Efflorescence and Remove It
Water-soluble salt compounds in the masonry, pushed out by water intrusion, will cause white, powdery, crystal-like deposits on the surface. When the water evaporates, the salt residue remains. This is called efflorescence, and it must be removed prior to waterproofing to ensure proper adhesion of the waterproofing paint. A product that is very effective for removing the efflorescence is DRYLOK® Etch. Unlike muriatic acid, it does not become activated until combined with water, which makes storage safer.

Remove Any Old Paint or Other Coatings
If you will be waterproofing walls that have previously been painted, then you will need to remove any old paint or other coatings first. This can be done with a wire brush, sandpaper or chemical stripper.
3. Plug Holes and Cracks

Once the area is clean and dry, you can begin plugging any holes or cracks in the walls with hydraulic cement. This will prevent water from entering the basement. An excellent product for this purpose is DRYLOK® Fast Plug. In only three to five minutes, Fast Plug creates a waterproof seal on any surface. It can even fix active leaks.
Small cracks can be addressed with DRYLOK® Masonry Crack Filler. The ultimate crack repair and filling solution, this is a superior, rapid-setting and ready-to-use acrylic mixture fortified with silicone caulk. It dries to the color of concrete, does not bleed and can be cleaned up in a matter of minutes with soap and water.

4. Reseal Windows, Doors and Window Wells with Caulk
With a waterproofing project, it’s always a good idea to do an overall perimeter check on the home. Window wells are a common entry point for water, which makes it important to seal them properly. You can use silicone caulk or expanding foam. Windows and doors should also be sealed with caulking in order to prevent water from entering.

5. Apply Waterproof Coating
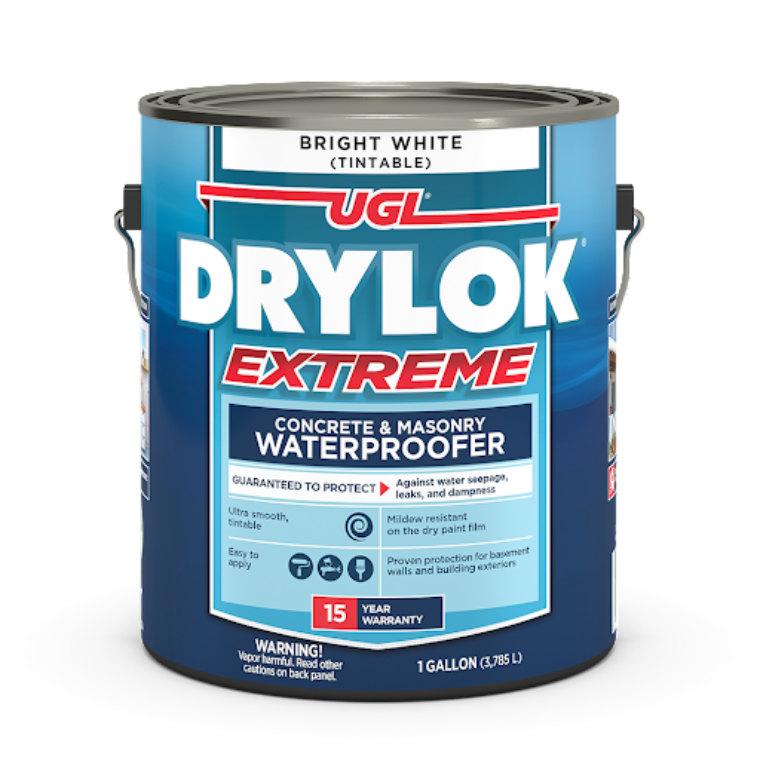
Once the basement is completely dry, all the holes are plugged and the windows and doors are caulked, it’s time to paint the walls with a waterproof sealer. DRYLOK® Extreme Masonry Waterproofer is the perfect solution to stop water infiltration through basement walls, and it’s easy to apply.
Here are some quick steps to follow:
Purchase enough paint to complete the job. Each gallon covers approximately 75 – 100 square feet. You will need a minimum of two coats.
Make sure the temperature is at least 50℉ while painting.
Stir thoroughly and do not thin.
Apply the first coat with a ¾ inch nap roller or a good nylon bristle brush.
Allow two to three hours to dry before applying the second coat.
After the walls are dry, inspect for pinholes and give these areas an additional coat.
Can DRYLOK® Extreme Masonry Waterproofer Be Used for Exterior Basement Sealing?
DRYLOK® can be applied to the positive or negative side (below-grade, inside or outside) of the wall. This can be done during construction or after the build to provide the desired waterproofing. It has been tested to ASTM D‑7088 standards.
This procedure is for the evaluation of coatings used in below-grade applications to resist the passage of water through concrete blocks. It is intended to replicate the ability of a coating applied to a below-grade masonry wall to prevent the intrusion of water through the coating caused by hydrostatic pressure from the water on the outside of the building.
The results of the test give our product a PSI rating of 15, which equates to stopping a wall of water that is 33 feet tall.

Reimagine Your Basement Aesthetic with DRYLOK® Waterproofer Color Tints
Extreme Masonry Waterproofer is stocked on the shelf as bright white. However, a local supplier can also tint it for homeowners in up to eight colors. You can provide homeowners with aesthetic options for their basement, which many of your competitors cannot offer.

Trust in DRYLOK® for All Masonry Care and Repair Needs
We carry solutions for everyday homeowners, DIYers and professionals alike. Whether you are sealing a patio, painting a garage floor, or waterproofing your basement walls, we can provide the tools you need to prepare the surface, patch the cracks and holes and finally apply the finish coat that will make your project shine.
When you use our products, you can be sure that you’re providing your customers with quality solutions at an affordable price. Contact us today to find a retailer near you.


