
Whether you’re a homeowner, contractor or property manager, you have probably considered renovating a basement.
Basements are tricky spaces in any house or building — often damp, dark and unfinished — and renovating them can be a daunting task.
A great way to make a large project more manageable is to break it down into smaller pieces and create achievable, bite-sized milestones. Our eight tips for renovating a basement can help guide you toward a successful renovation.
Don’t Underestimate the Possibilities of a Renovated Basement
A renovated basement can quickly double the square footage of finished space in your home and can drastically increase its function and value.
Renovating your basement can be an effective solution for growing families who need more space or working professionals who need a home office. In addition a finished basement can generate revenue as a rental unit, function as a guest room for friends and family or even become a home gym or movie theatre — the possibilities are nearly endless.
8 Tips for the Perfect Basement Renovation
As with any construction project, there is a multitude of tips and tricks that will help you get your project done right and on time. Reduce headaches, hold-ups, and heartbreaks using these eight tips for renovating a basement:
1. Assess the Condition of the Basement
A thorough walkthrough and inspection of the area should be your first step when renovating a basement. Before you finish your walls and floor, you want to address any issues with your concrete or block foundation.
Cleaning and Removing Efflorescence
Cleaning your walls — whether concrete, block, brick or stone — is vital when renovating a basement; this is especially true if you plan on painting or at least waterproofing.
Paint and waterproofing membranes require the surfaces on which you apply them to be clean and free of crumbling, flaking and dust in order to create a solid bond. Paint and waterproofing membranes used on dusty, flakey walls will likely fail and peel or flake off.
Efflorescence is a common cause of dusty, flakey walls. Efflorescence occurs when the salt from mortar or concrete moves to the surface and leaves a white powdery coating on masonry walls.
Products like DRYLOK® Concrete and Masonry Etch & Cleaner are great for perfectly prepping your walls and chemically neutralizing efflorescence while also providing a clean surface to which other products can adhere.
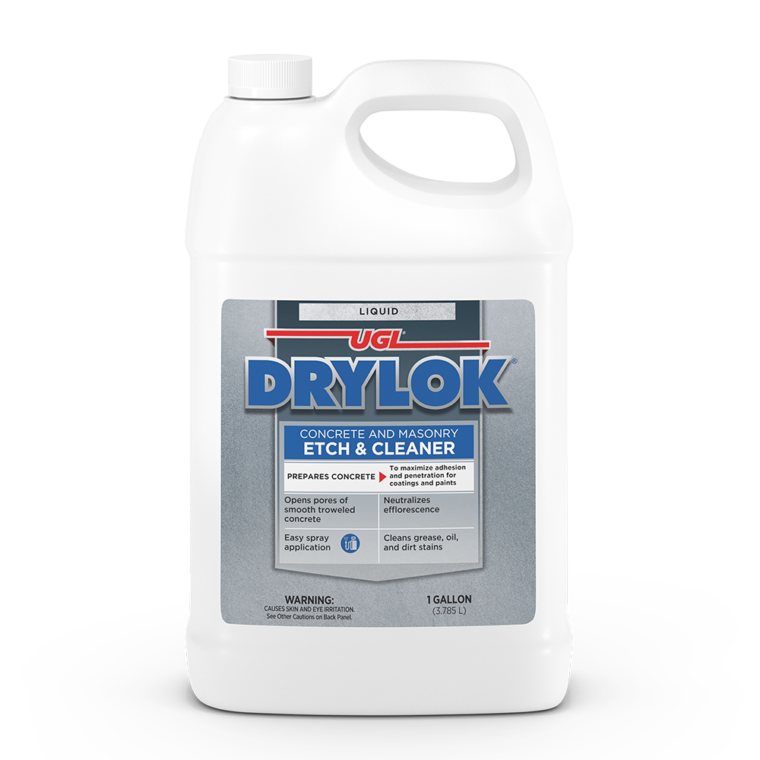
As the name implies, it etches masonry surfaces as well.
Etching is when you roughen a smooth surface to create a better bond with an applied membrane, like paint or waterproofing. Concrete floors and many poured concrete walls require etching to create an effective bond.
Filling Major Cracks
Filling significant cracks in your walls and floors should be one of your top priorities when renovating a basement.
Large cracks and penetrations in your basement walls and floor can be significant causes of moisture and can cause bond failure between your masonry surface and paint or waterproofing.
Using a product like DRYLOK Fast Plug® to fill cracks is vital in ensuring a moisture-free basement.

Filling Minor and Hairline Cracks
In addition to filling major cracks, you should address all minor and hairline cracks when renovating a basement.
Although small, cracks can provide an open pathway for water and moisture to infiltrate your basement.
Filling these imperfections with DRYLOK Masonry Crack Filler helps to ensure the best possible bond between concrete and paint or waterproofing. It helps to provide the safest possible living space, unthreatened by mold, mildew and other moisture-related hazards.

2. Consider the Layout and Design
Think about how you want to use the space. Do you need to add or remove any walls? Do you need to install or move any electrical, plumbing or HVAC to increase the functionality of your basement or to meet code?
Considering all of these factors before you start your renovation will help you schedule contractors, account for materials and apply for the necessary permits. Taking these measures in advance is the difference between a smooth, efficient renovation and a tedious project that quickly gets behind schedule.
3. Create a Budget and Stick To It
Renovating a basement can be expensive, and it can quickly get out of hand. Establishing a budget early in your project is an excellent way to keep things in line.
Creating a well-thought-out budget will help you understand what is realistic for your price range and limit unreasonable expectations and unnecessary disappointments.
Setting aside additional funds for unexpected costs is also good practice when creating a budget for any construction or renovation process. Unforeseen and unanticipated issues and problems arise on every project — give yourself a little cushion to stay on budget when these challenges arise.
4. Obtain Necessary Permits and Inspections
Nothing is worse than starting a project only to be helplessly stalled in the middle by waiting for last-minute inspections and permits.
Depending on where you live, permits can often take weeks, if not months, to be approved. Inspectors can take similar amounts of time to get to your job site.
Planning ahead and scheduling permits and inspections well in advance will keep your project moving smoothly and efficiently.
5. Insulate and Waterproof the Space
Proper insulation and waterproofing are crucial steps to renovating a basement.
Because basements are underground, they are constantly under pressure from surrounding groundwater. If groundwater infiltrates your finished basement, it can create hazardous mold and mildew, potentially endangering the occupants and users of the space. Waterproofing your new basement is a step that you should not overlook.
In addition to waterproofing, insulating your finished basement should also be a top priority. A thorough insulation job will keep your basement cool in the summer and warm in the winter, and it will help keep your energy bills lower and keep your home heating and cooling efficient regardless of the season.
Waterproofing the Walls
Using a product like DRYLOK Original Concrete & Masonry Waterproofer, you can effectively eliminate dangerous moisture from infiltrating the beautiful basement you worked so hard to create.

6. Seek to Maximize Natural Light
One of the biggest hurdles you may encounter when renovating a basement is that it can easily feel like a cave.
Because your basement is at least partially, if not completely, underground, it can be challenging to get a comfortable or pleasing amount of natural light into the space.
If you are building a home theatre or even a gym, this may not be an issue. If you plan on making a bedroom, family room, game room or anything else that is similar, maximizing your natural light can be highly beneficial.
Additionally, using light-colored paints and finishes throughout your basement while avoiding dark tones whenever possible can help prevent you from feeling like a mole living underground.
7. Add Practical Features
When renovating a basement, be sure to include plenty of storage spaces. Be realistic with the amount of storage you will need and try to account for the types of purposes and activities your basement will serve.
Another practical feature you will need to consider are egress windows. If you are building any bedrooms in your basement, most residential building codes will require you to install an egress window in those rooms. An egress window is large enough and low enough that a human being could escape from it in an emergency.
8. Finishing Touches
Consider what kind of finishing touches you may want to have in your basement. You may want to do a fancy lime wash finish on your walls. Perhaps you need special lighting above a pool table or dart board. It is essential to consider these finishing touches at the beginning of your project so that you have accounted for them in the end.
Consider Concrete Floor Paint
Finishing your basement floor can be one of the most challenging tasks you will come across when renovating a basement. Unlike the rest of your home, the floor in your basement is made of concrete, not wood, which prevents you from using traditional hardwood or other nail-down flooring products.
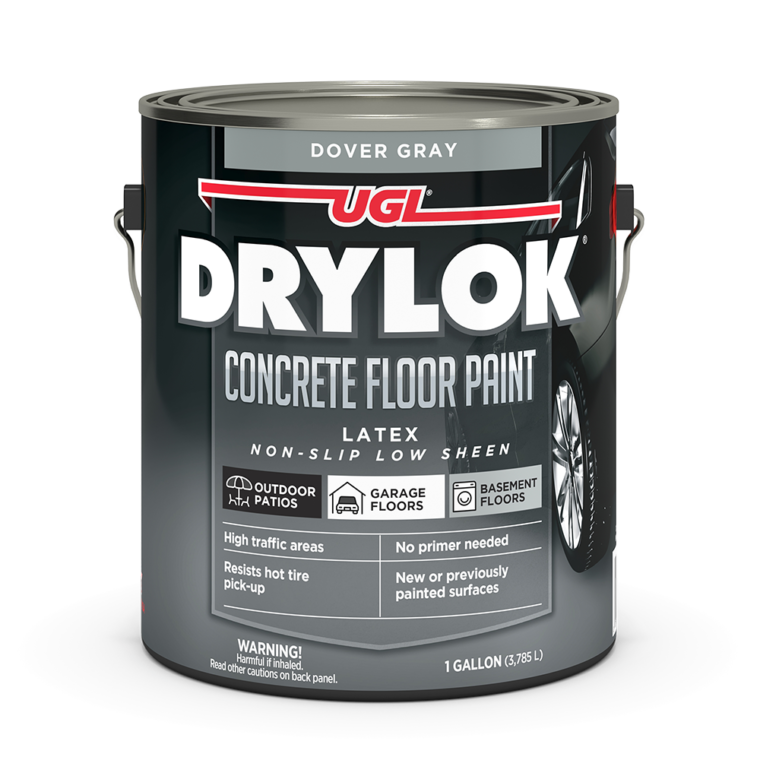
A simple solution for this problem can be to use concrete floor paint.
Using a product like DRYLOK Concrete Floor Paint allows you to create a beautifully finished floor in various colors and saves you time and money on your project. Better yet, the new DRYLOK Low VOC formula makes it easier than ever before to create the perfect, durable floor for your new basement.
Cover Your Basement Renovation Waterproofing and Flooring Paint Needs with DRYLOK
Whether you need to waterproof your walls, patch cracks or create a beautiful, resilient basement floor, DRYLOK has you covered.
Fill hairline cracks and gaps with DRYLOK Masonry Crack Filler or stop active leaks with DRYLOK Fast Plug Hydraulic Cement. Choose from a multitude of color options with DRYLOK Concrete Floor Paint, or create showroom-quality finishes with the DRYLOK E1 Latex 1‑Part Epoxy Concrete Floor Paint.
Visit our site today to view our entire catalog of products or find a retailer near you today and find out why we’ve been North America’s number-one solution for masonry protection and beautification for over 68 years!


